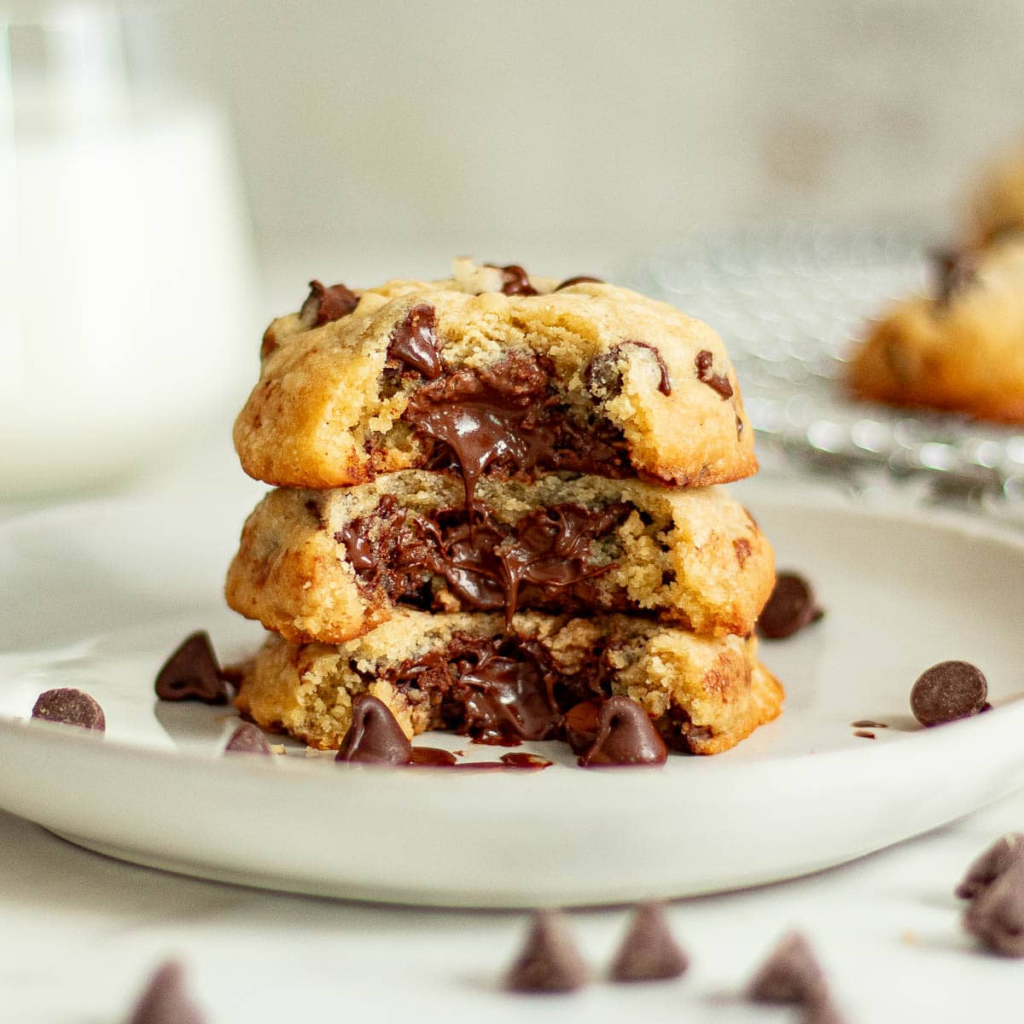
Have you ever broken a cookie in half just to watch the chocolate stretch between the two pieces?
That’s the whole point of this recipe.
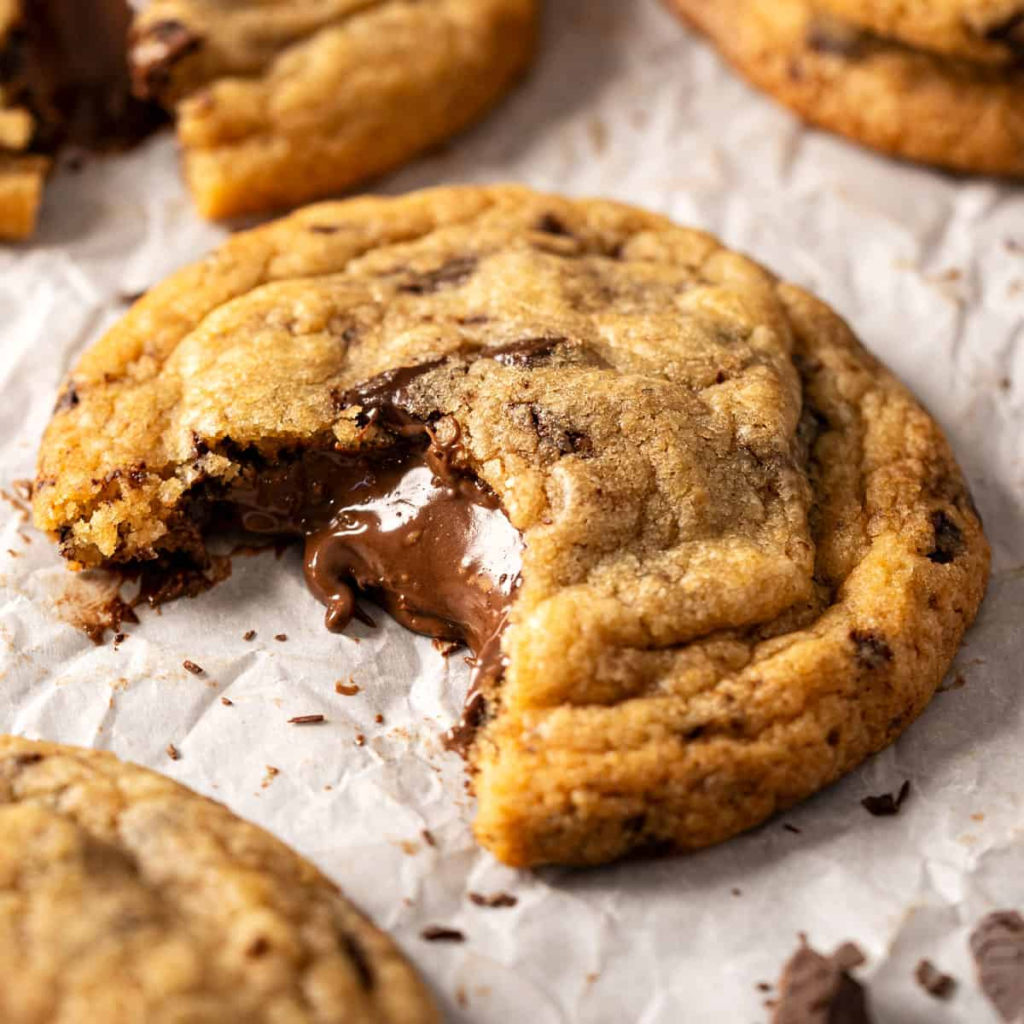
These are chocolate filled cookies. Not chocolate chip. Not double chocolate. Filled. As in, there’s a pocket of melted chocolate hiding dead center, waiting for you to crack it open.
I started making these after one too many disappointing “gooey” cookies from a bakery that were, in fact, not gooey at all. Just regular cookies with a marketing problem.
So I fixed it myself.
Side Note: If you’ve made my brown butter chocolate chip cookies before, this recipe uses a similar base, just built to hold a secret.
The dough is thick, the edges get crisp, and the middle stays soft enough to bend without snapping. And somewhere in there, a whole chunk of chocolate is just waiting to surprise you.
Let’s get into it.
Why This Recipe Works
A few things make these different from your average cookie:
- The dough is chilled, which keeps the cookies from spreading into thin, sad discs.
- The chocolate is frozen first, so it stays put in the center instead of melting into the dough while it bakes.
- They’re slightly underbaked on purpose, which is the entire secret to that molten middle.
None of these steps are hard. They just take a little patience, which, I’ll be honest, is the hardest ingredient in baking.
There’s also a science reason behind why chilled dough matters so much. Cold butter melts slower in the oven, which gives the flour more time to set before the cookie spreads flat. Skip the chill, and you’ll end up with a cookie that’s thin, crispy all the way through, and missing that soft, chewy bite in the middle.
The frozen chocolate chunk works the same way. It buys you time. By the time the outside of the chocolate starts to melt, the cookie around it has already baked enough to hold its shape.
What You’ll Need
| Ingredient | Amount |
|---|---|
| All-purpose flour | 2 ¼ cups |
| Baking soda | 1 tsp |
| Salt | ½ tsp |
| Unsalted butter, softened | 1 cup |
| Brown sugar, packed | ¾ cup |
| Granulated sugar | ¼ cup |
| Large eggs | 2 |
| Vanilla extract | 2 tsp |
| Chocolate bar (milk or dark), cut into 1-inch chunks | 8 oz |
| Flaky sea salt, for topping | Optional |
Side Note: A good quality chocolate bar makes a huge difference here. Chocolate chips are designed to hold their shape, which is exactly what you don’t want. You want chocolate that melts into a puddle.
Tools You’ll Need
- Mixing bowls
- Hand mixer or stand mixer
- Baking sheet
- Parchment paper
- Cookie scoop
- Freezer-safe plate (for the chocolate chunks)
How to Make Chocolate Filled Cookies
- Freeze the chocolate first. Cut your chocolate bar into 1-inch chunks and pop them in the freezer for at least 20 minutes. This step matters more than it sounds like it should.
- Whisk the dry ingredients. In a bowl, whisk together the flour, baking soda, and salt. Set it aside.
- Cream the butter and sugars. Beat the softened butter with the brown sugar and granulated sugar until it’s light and fluffy, about 2 minutes.
- Add the eggs and vanilla. Mix in the eggs one at a time, then the vanilla, until fully combined.
- Bring it together. Slowly mix in the dry ingredients until just combined. Don’t overmix, or you’ll end up with tough cookies.
- Chill the dough. Cover it and refrigerate for at least 1 hour. Overnight is even better if you have the patience.
- Portion and stuff. Scoop a golf ball sized piece of dough, flatten it in your palm, place a frozen chocolate chunk in the center, and wrap the dough completely around it. Roll it into a ball.
- Bake. Place the dough balls on a parchment lined baking sheet, spaced a few inches apart. Bake at 350°F for 10 to 12 minutes, until the edges are golden and the centers still look a little underdone.
- Let them rest. Leave the cookies on the baking sheet for 5 minutes before moving them. This is where the magic finishes happening.
- Sprinkle and serve. Add a pinch of flaky sea salt on top if you’re feeling fancy, then break one open while it’s still warm.
Pro Tips
- Don’t skip freezing the chocolate. If it’s not cold, it’ll melt straight into the dough before it even hits the oven, and you’ll lose that pocket of pure chocolate.
- Underbake slightly. Pull them when the centers still look a little soft. They’ll keep cooking on the tray after you take them out.
- Seal the dough completely. Any gaps around the chocolate chunk will let it leak out during baking, which means less filling for you.
- Weigh your dough balls if you want every cookie to bake evenly. About 2 ounces per cookie is a good target.
- Let them cool for 5 minutes before you bite in. I know that’s basically impossible, but the filling needs a second to firm up just slightly so it doesn’t burn your tongue.
Substitutions and Variations
- Dark chocolate lovers: Swap the milk chocolate for a 70% dark chocolate bar for a more intense, less sweet filling.
- Peanut butter version: Freeze small dollops of peanut butter instead of chocolate for a different kind of surprise center.
- Sea salt caramel: Freeze small caramel squares alongside a piece of chocolate for a salted caramel filled cookie.
- Gluten-free: Use a 1:1 gluten-free flour blend in place of the all-purpose flour.
- Brown butter upgrade: Brown the butter first and let it cool before creaming it with the sugars for a deeper, nuttier flavor.
Make Ahead Tips
The dough freezes really well, which makes this recipe perfect for having fresh cookies on demand.
- Shape and stuff the dough balls, then freeze them on a baking sheet until solid.
- Once frozen, transfer them to a freezer bag or container.
- Bake straight from frozen, adding 2 to 3 extra minutes to the bake time.
You can also make the dough up to 3 days ahead and keep it chilled in the fridge until you’re ready to stuff and bake.
Saving Time in the Kitchen
If you bake these often, a few small habits speed things up a lot.
- Batch chop your chocolate. Cut a few bars at once and freeze the extra chunks in a bag, so it’s ready whenever you want to bake.
- Double the dough. Since it freezes so well, making a double batch means one baking session gives you cookies for weeks.
- Line multiple sheets at once. Prep your parchment paper ahead of time so you’re not scrambling between batches.
What to Serve With These
These cookies are rich enough to stand completely on their own, but a few pairings take them further.
- A cold glass of milk is the obvious one, and it’s obvious for a reason.
- Vanilla ice cream sandwiched between two slightly cooled cookies makes an easy homemade ice cream sandwich.
- A hot cup of coffee or espresso cuts through the sweetness nicely if you’re having these later in the day.
Nutrition Estimate (Per Cookie)
| Nutrient | Approximate Amount |
|---|---|
| Calories | 260 |
| Total Fat | 12g |
| Carbohydrates | 34g |
| Sugar | 20g |
| Protein | 3g |
These numbers are estimates based on a batch of 18 cookies and will shift depending on the chocolate and butter you use. If you’re keeping an eye on sugar, using a darker chocolate cuts down the sweetness noticeably.
Leftovers and Storage
- Room temperature: Store baked cookies in an airtight container for up to 4 days. They’re best within the first 2 for that gooey center, but they’re still good after.
- Reheating: A quick 10 seconds in the microwave brings the chocolate center right back to life.
- Freezing baked cookies: These freeze well for up to 3 months. Thaw at room temperature or warm them in the microwave.
FAQ
Why did my chocolate leak out during baking?
The dough probably wasn’t sealed completely around the chocolate, or the chocolate wasn’t cold enough when it went into the oven.
Can I use chocolate chips instead of a chocolate bar?
You can, but chocolate chips are formulated to hold their shape when heated, so you won’t get the same molten, oozy center. A chopped up chocolate bar melts much better.
Why is my dough spreading too much?
Your butter may have been too warm, or the dough didn’t get enough time to chill. An hour in the fridge is the minimum, so don’t rush that step.
Can I make these smaller for a bite sized version?
Yes, just use a smaller piece of chocolate and reduce the bake time by 1 to 2 minutes. Keep an eye on them since smaller cookies bake faster.
Do I need to use a stand mixer?
Nope. A hand mixer works just fine, and even mixing by hand with a sturdy spoon will get the job done if the butter is soft enough.
Wrapping Up
There’s a real moment of joy in cracking open a cookie and watching chocolate stretch out between your fingers.
That’s what these are built for.
Give them a try this weekend, and when you do, come back and drop a comment below. Tell me how the center turned out, what filling you tried, and any questions you’ve got along the way.
I’ll be reading.