I burned my first six crepes in a row.
Not “a little too dark on the edges” burned. I’m talking smoke alarm, open-the-window, laugh-so-you-don’t-cry burned.
That was three years ago in my tiny kitchen, trying to recreate a crepe I’d had from a street cart in Montmartre. Now I make a batch of these almost every Sunday, and they come out lacy, golden, and stupidly easy every single time.
The difference wasn’t a fancy pan or some secret French technique. It was three small things I was doing wrong, and one of them had nothing to do with the batter at all. I’ll walk you through everything below so you skip the smoke alarm phase entirely.
Side Note: Crepes are just a thin pancake batter, but the ratio of liquid to flour is way higher than regular pancakes. That’s basically the whole secret. Don’t overthink it.
Here’s the part that surprised me most. A proper crepe batter has almost no leavening in it at all. No baking powder, no baking soda. That’s exactly why it stays thin and bendy instead of puffing up like a pancake. Once that clicked for me, everything else made sense.
What You’ll Need
Here’s everything that goes into the batter.
| Ingredient | Amount |
|---|---|
| All-purpose flour | 1 cup |
| Eggs | 2 large |
| Whole milk | 1 1/2 cups |
| Water | 1/4 cup |
| Melted butter | 3 tablespoons, plus more for the pan |
| Granulated sugar | 1 tablespoon (skip for savory crepes) |
| Salt | 1/4 teaspoon |
| Vanilla extract | 1 teaspoon (optional, for sweet crepes) |
That’s it. Eight ingredients, most of which are already in your kitchen.
Tools You’ll Need
- Blender (or a large bowl and a whisk)
- Nonstick crepe pan or a regular nonstick skillet, 8 to 10 inches
- Thin rubber spatula or a wooden crepe spreader
- Ladle or 1/4 cup measuring cup
- Plate for stacking the finished crepes
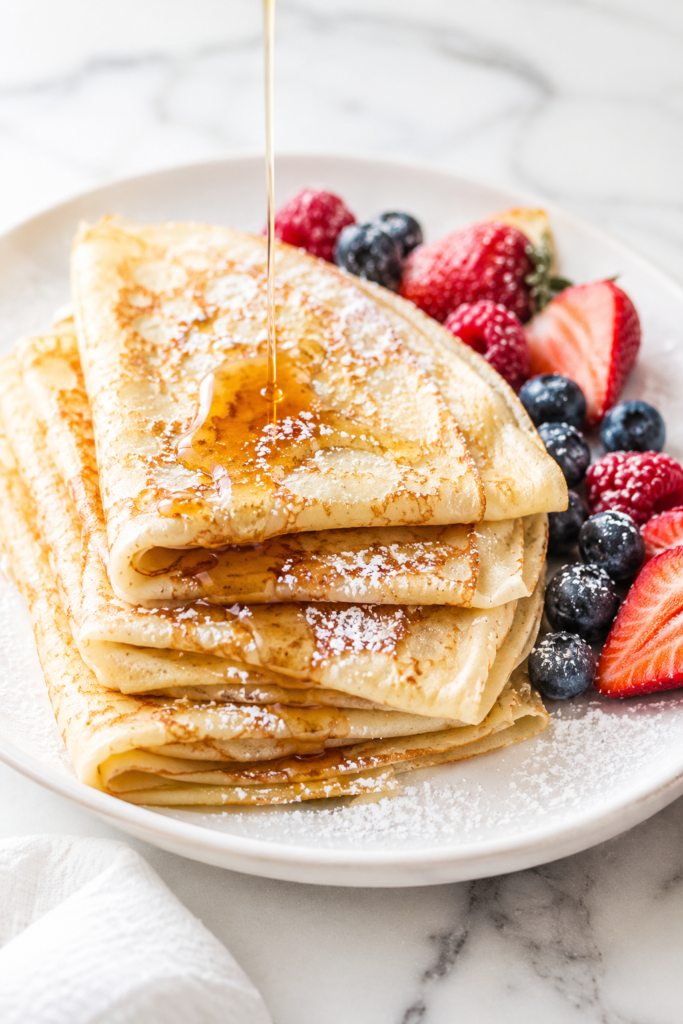
How to Make Homemade Crepes
- Blend the batter. Add the flour, eggs, milk, water, melted butter, sugar, salt, and vanilla to a blender. Blend for about 20 seconds until smooth.
- Let it rest. Pour the batter into a bowl, cover it, and pop it in the fridge for at least 30 minutes. An hour is even better.
- Heat the pan. Set your skillet over medium heat and brush it lightly with butter.
- Pour and swirl. Pour about 1/4 cup of batter into the center of the pan. Immediately pick it up and tilt it in a circular motion so the batter spreads into a thin, even layer.
- Cook the first side. Let it cook for about 60 to 90 seconds, until the edges start to lift and turn golden and the top looks matte instead of wet.
- Flip it. Slide your spatula underneath and flip. Cook the second side for 20 to 30 seconds. It won’t brown as much as the first side, and that’s normal.
- Stack and repeat. Transfer to a plate and repeat with the rest of the batter, brushing the pan with a little more butter every two or three crepes.
- Fill and fold. Once they’re all cooked, fill with whatever you’re craving and fold into quarters, halves, or a full roll.
That’s genuinely the whole process. The batter does most of the work.
Pro Tips
I picked these up the hard way, so hopefully you don’t have to.
- Resting the batter isn’t optional. Skip it and your crepes turn out rubbery instead of lacy. The rest lets the flour fully hydrate.
- Your first crepe is a sacrifice. Almost every batch has one throwaway crepe while you dial in the heat and the amount of batter. Don’t panic if it looks weird.
- Tilt fast. You have about 3 seconds after pouring before the batter starts to set. Move quick or you’ll end up with a thick blob in the middle.
- Medium heat, not high. High heat cooks the outside before the inside sets, and you’ll get spotty, tough crepes instead of soft, even ones.
- A thin layer of butter goes a long way. Too much butter in the pan and your crepes will fry instead of gently cook, which changes the texture completely.
Substitutions and Variations
Crepes are one of the most flexible things you can make. A few swaps that work well:
- Gluten-free: Swap the all-purpose flour for a 1:1 gluten-free blend. The texture is slightly more delicate, so handle the flip carefully.
- Dairy-free: Use your favorite plant milk and a neutral oil instead of butter.
- Buckwheat crepes: Replace half the flour with buckwheat flour for a nuttier, more savory galette-style crepe. This is the classic base for ham and cheese crepes in France.
- Chocolate crepes: Add 2 tablespoons of cocoa powder and an extra tablespoon of sugar to the batter.
- Savory version: Drop the sugar and vanilla completely, and add a pinch of black pepper or fresh herbs to the batter.
Make Ahead Tips
- The batter keeps in the fridge for up to 2 days. Give it a quick whisk before using since it separates a bit.
- Cooked crepes can be stacked with a small square of parchment paper between each one, then refrigerated for up to 3 days.
- You can also freeze cooked crepes the same way, stacked with parchment, in a freezer bag for up to 2 months.
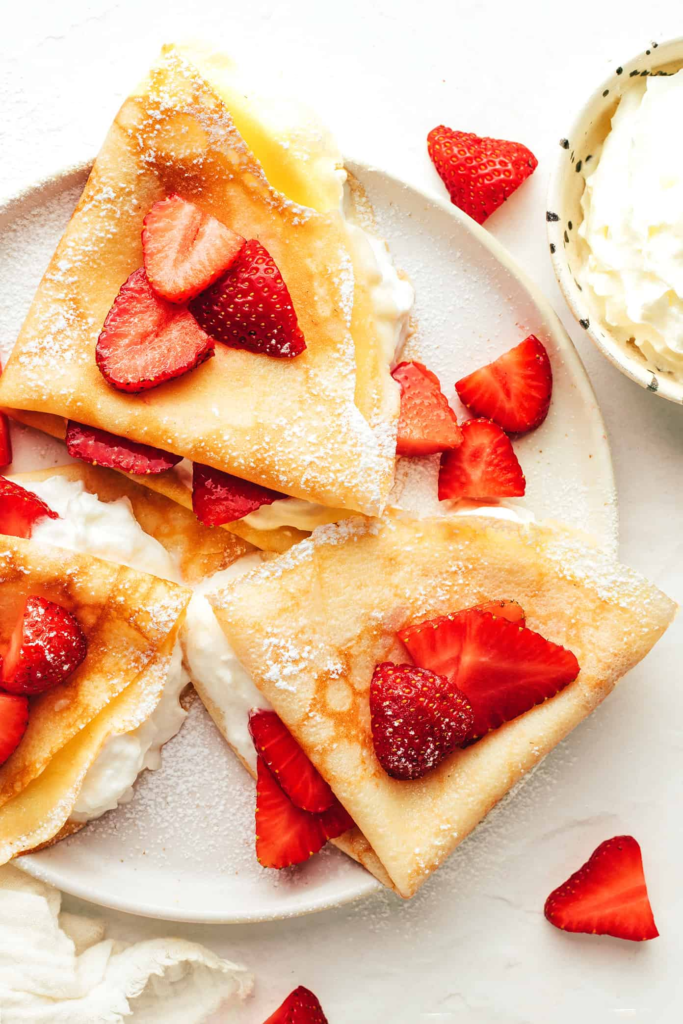
Filling Ideas and Pairings
Sweet or savory, crepes go with almost anything.
Sweet fillings:
- Nutella and sliced banana
- Fresh berries and whipped cream
- Lemon juice and a dusting of sugar
- Caramelized apples with a pinch of cinnamon
Savory fillings:
- Ham, gruyere, and a fried egg
- Sautéed mushrooms and spinach with a little garlic
- Smoked salmon with cream cheese and dill
For breakfast, I like pairing these with fresh fruit and coffee. For dinner, a simple green salad on the side balances things out nicely.
Cooking Time Efficiency Tips
If you’re making a big batch for a crowd, a few small changes speed things up quite a bit.
- Use two pans at once. Cooking two crepes at the same time cuts your total time almost in half.
- Keep a warm plate ready. Stack finished crepes on a plate covered loosely with foil in a low oven (around 200°F) so they stay warm while you finish the rest.
- Prep the batter the night before. Since it needs to rest anyway, making it ahead means you can start cooking the second you wake up.
- Skip the swirl for square pans. If you’re using a rectangular griddle, you can pour a thin line of batter and use your spatula to spread it instead of tilting the pan, which is faster once you get the hang of it.
Nutrition (Per Crepe, Plain)
This is based on an unfilled crepe, so your actual numbers will shift depending on what you fill them with.
| Nutrient | Amount |
|---|---|
| Calories | 90 |
| Carbohydrates | 10g |
| Protein | 3g |
| Fat | 4g |
| Sugar | 1.5g |
Side Note: These numbers are estimates. If you’re tracking closely, plug your exact ingredient brands into a nutrition calculator for accurate numbers.
Leftovers and Storage
Crepes reheat beautifully, which is honestly one of my favorite things about them.
- Fridge: Store cooked, unfilled crepes stacked with parchment paper in an airtight container for up to 3 days.
- Freezer: Freeze the same way for up to 2 months. Thaw in the fridge overnight before using.
- Reheating: Warm them in a dry skillet over low heat for about 20 seconds per side, or microwave for 15 to 20 seconds.
Don’t fill and then refrigerate crepes if you can help it. The filling makes them soggy overnight. Store the crepes and filling separately, then assemble right before eating.
FAQ
Why are my crepes tearing when I flip them?
This usually means the first side hasn’t finished cooking yet. Give it another 15 to 20 seconds before you try to flip.
Can I make the batter without a blender?
Yes. Whisk the eggs first, then slowly whisk in the milk and water, then the dry ingredients. Just make sure there are no lumps before you rest it.
Why do my crepes taste eggy?
This can happen if you skip the resting step, or if your pan is too hot and cooks the eggs too fast before the batter spreads evenly. Rest the batter and drop the heat slightly.
What’s the difference between a crepe and a pancake?
Crepe batter has way more liquid and no leavening agent like baking powder, which is why crepes are thin and pliable instead of thick and fluffy.
Can I double this recipe?
Absolutely. It scales up with no issues, just blend it in batches if your blender is on the smaller side.
Why is my first crepe always wrong?
Almost everyone experiences this, so you’re not doing anything wrong. Pans need a minute to reach their true cooking temperature, and the first pour usually reveals if your heat is too high or too low. Adjust after that first one and the rest will fall into place.
Do I need a special crepe pan?
Not at all. A regular nonstick skillet works fine. A dedicated crepe pan just has slightly shorter sides, which makes flipping a little easier, but it’s not a requirement.
Wrapping Up
Homemade crepes look intimidating from the outside, but once you make your first batch, you’ll wonder why you ever thought they were complicated.
Give this recipe a try this weekend, and let me know in the comments how yours turned out and what you filled them with. I’m always curious to hear what combinations people come up with.