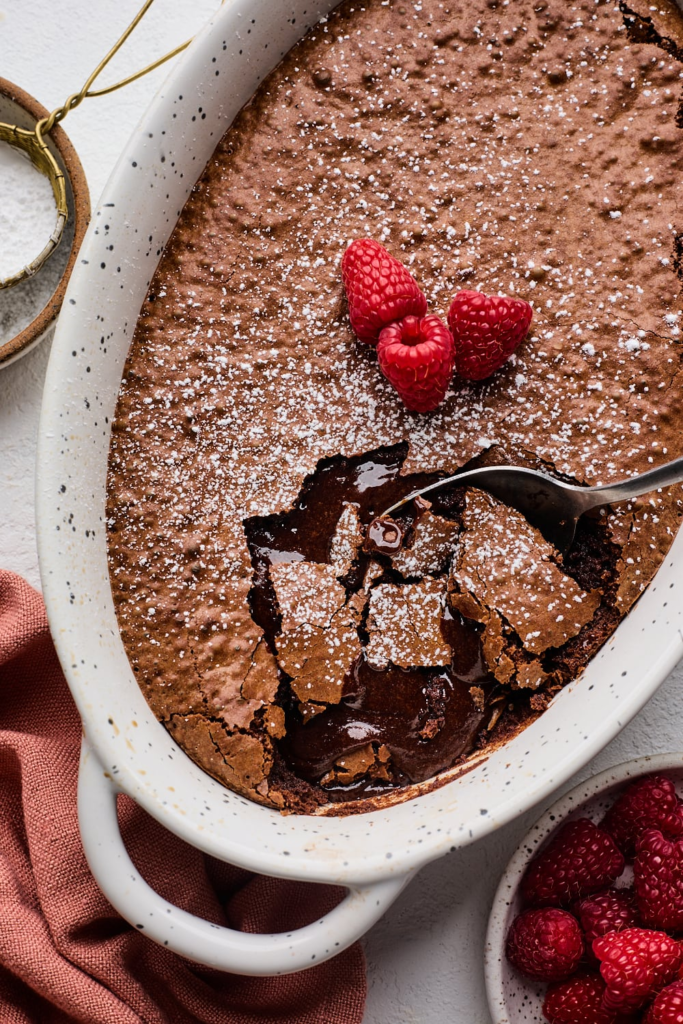
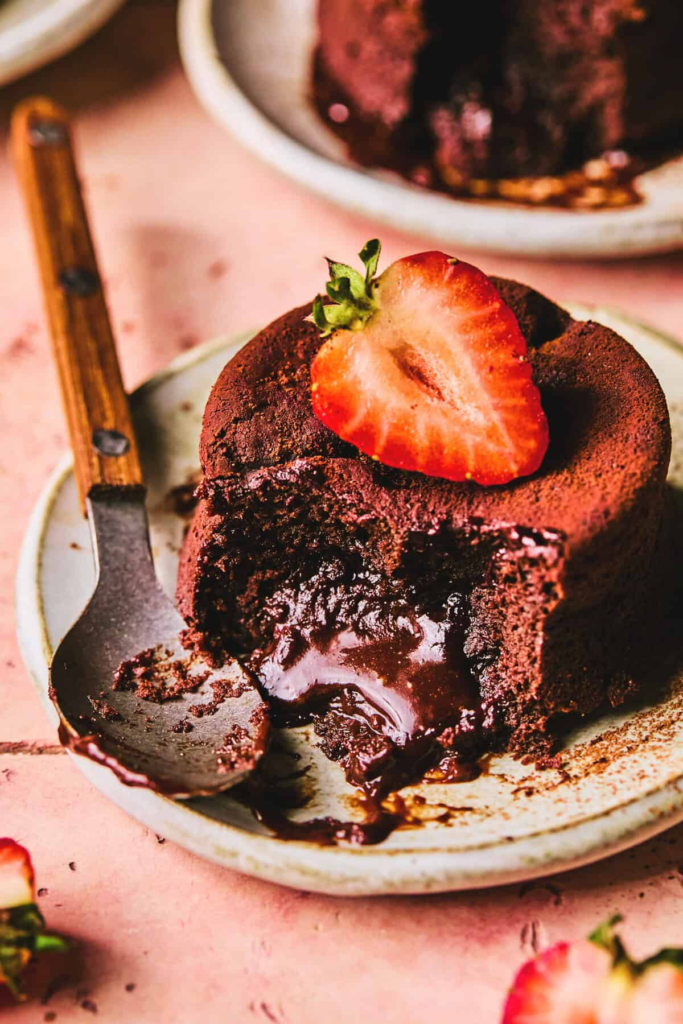
You cut into it and chocolate just… pours out.
That’s the whole appeal here. One spoon, one crack through the top, and suddenly there’s a small chocolate waterfall happening on your plate.
I used to think lava cakes were one of those “restaurant only” desserts. The kind you order because you’d never actually pull it off at home.
Turns out that’s completely wrong.
This recipe takes about 10 minutes of actual work and 12 minutes in the oven. That’s it. No candy thermometer, no waiting for anything to set, no ramekin catastrophes.
Let’s get into it.
Why This Recipe Works
The magic trick behind a lava cake isn’t magic at all. It’s timing.
You bake the cake just long enough for the outside to set into an actual cake, while the inside stays completely liquid.
Pull it too early and you’ve got chocolate soup. Pull it too late and you’ve got a regular brownie. The sweet spot is narrow, but it’s also really easy to hit once you know what to look for.
The other part of the equation is the batter itself. This recipe uses way less flour than a typical cake, which means there’s not enough structure for the center to fully set.
That’s not a flaw. That’s the entire point.
I’ll walk you through exactly how to know when it’s ready, so you don’t have to guess.
What You’ll Need
Here’s everything going into the batter and topping:
- 4 oz semisweet or bittersweet chocolate, chopped (or good quality chocolate chips)
- 1/2 cup unsalted butter, plus extra for greasing
- 1 cup powdered sugar
- 2 large eggs
- 2 large egg yolks
- 1/2 teaspoon vanilla extract
- 1/4 teaspoon salt
- 6 tablespoons all-purpose flour
- Cocoa powder or extra flour, for dusting the ramekins
That’s it. Nine ingredients and most of them are probably already in your kitchen.
Side Note: Use real chocolate here, not chocolate syrup or a lower cocoa content bar. The chocolate is doing all the heavy lifting in this recipe, so it needs to actually taste like something.
Tools You’ll Need
- 4 ramekins (6 oz size works best)
- A medium mixing bowl
- A microwave-safe bowl or a double boiler
- A whisk
- A rubber spatula
- A baking sheet
- A small offset spatula or butter knife (for greasing the ramekins)
How to Make Chocolate Lava Cake
Step 1: Prep your ramekins
Grease all four ramekins generously with softened butter, making sure to get into every corner.
Dust each one with cocoa powder, tapping out the excess. This is what lets your cake slide out cleanly instead of fighting you for it later.
Set them on a baking sheet and preheat your oven to 425°F.
Step 2: Melt the chocolate and butter
Combine the chopped chocolate and butter in a microwave-safe bowl.
Microwave in 20-second bursts, stirring between each one, until it’s fully melted and smooth. This usually takes about 1 to 2 minutes total.
Set it aside to cool slightly while you work on the next step.
Step 3: Whisk the eggs and sugar
In a separate bowl, whisk together the powdered sugar, whole eggs, and egg yolks until the mixture looks pale and slightly thickened.
This takes about a minute of steady whisking. You’re not trying to whip air into it, just combine everything smoothly.
Step 4: Bring it all together
Pour the melted chocolate mixture into the egg mixture and whisk until fully combined.
Add the vanilla and salt, then fold in the flour with a spatula until no dry streaks remain.
Don’t overmix here. Once the flour disappears, stop stirring.
Step 5: Divide and bake
Split the batter evenly between your four prepared ramekins.
Bake for 12 to 14 minutes. The edges should look set and slightly puffed, while the center still looks a little soft and jiggly when you gently shake the pan.
Step 6: The flip
Let the cakes rest in the ramekins for exactly 1 minute. Any longer and the center starts to set too much.
Run a knife around the edge of each ramekin, then place a plate on top and flip it over in one confident motion.
Give it a gentle tap, lift the ramekin away, and watch it happen.
Pro Tips From Someone Who’s Ruined a Few
1. Don’t skip the resting minute, but don’t stretch it either. One minute is the window. Set a timer instead of eyeballing it.
2. Test one cake first if you’re serving guests. Ovens run differently, and it’s way less stressful to sacrifice one cake for science than to find out all four are underdone at once.
3. Room temperature eggs whisk up smoother. Cold eggs straight from the fridge take longer to blend evenly, which can throw off your texture.
4. Cocoa powder for dusting beats flour. It gives the outside a slightly deeper chocolate flavor and you won’t see any white residue on the finished cake.
5. Serve these immediately. This isn’t a make-and-wait dessert. The lava effect fades fast once the cake sits, so plate it and get it to the table right away.
Substitutions and Variations
- Dark chocolate lovers: Swap in 70% dark chocolate for a more intense, less sweet flavor.
- Gluten-free: Swap the all-purpose flour for a 1:1 gluten-free baking blend. The texture holds up surprisingly well.
- Espresso boost: Add 1/2 teaspoon of instant espresso powder to the melted chocolate. It deepens the chocolate flavor without tasting like coffee.
- Orange chocolate: Add 1/2 teaspoon of orange zest to the batter for a citrus edge.
- Individual mugs instead of ramekins: Oven-safe mugs work in a pinch if you don’t own ramekins. Just check them a minute or two earlier since mugs vary in thickness.
Make Ahead Tips
You can prep the batter up to 24 hours ahead and keep it covered in the fridge, right in the ramekins.
When you’re ready to bake, let them sit at room temperature for about 15 minutes, then add 1 to 2 extra minutes to the bake time since they’re starting out colder.
You can also freeze the unbaked batter in the ramekins for up to a month. Bake straight from frozen, adding about 4 to 5 extra minutes.
Nutrition (Per Cake, Estimated)
| Nutrient | Amount |
|---|---|
| Calories | ~450 |
| Fat | 32g |
| Carbohydrates | 38g |
| Sugar | 29g |
| Protein | 6g |
These numbers are estimates based on standard ingredient brands. Your actual numbers will vary depending on the specific chocolate and butter you use.
Leftovers and Storage
Lava cakes really are best fresh, but here’s what to do if you end up with extras.
Store any unbaked or leftover baked cakes covered in the fridge for up to 2 days.
To reheat a baked cake, microwave it for 15 to 20 seconds. It won’t have the same molten center as a freshly baked one, but it’ll still taste good and the texture stays soft.
Skip reheating in the oven. It tends to dry out the outside before the inside even warms up.
FAQ
Can I make these without ramekins?
Yes. Oven-safe mugs, small mason jars, or muffin tins all work. Just keep a close eye on bake time since the size and thickness will change how fast they cook.
Why did my cake collapse when I flipped it?
This usually means it baked a touch too long, or it sat too long before flipping. The structure needs that soft center to hold its shape when it comes out.
Can I double this recipe?
Absolutely. Just make sure you have enough ramekins and don’t overcrowd your baking sheet.
What’s the difference between a lava cake and a regular chocolate cake?
The ratio of eggs and chocolate to flour is much higher in a lava cake. Less flour means less structure, which is exactly what keeps that center liquid.
Can I use chocolate chips instead of a chocolate bar?
Yes, though bar chocolate melts a bit smoother. Chocolate chips often have stabilizers added that can make the finished texture very slightly grainier, but it’s a minor difference.
How do I know it’s cooked enough without cutting into it?
Look at the top. It should look matte and cake-like, not shiny or wet. A slight jiggle in the very center when you shake the pan gently is exactly what you want.
Cooking Time Efficiency Tips
If you’re making these for guests, get your ramekins greased and dusted the night before. That’s the most tedious part, so getting it out of the way early saves you a scramble later.
You can also melt the chocolate and butter, then whisk the eggs and sugar, all before your oven even finishes preheating. There’s no reason to wait on the oven to start prepping.
Wrapping Up
Once you make one of these, ordering it at a restaurant kind of loses its appeal.
You’ll know exactly how simple it actually is behind the scenes, and honestly, homemade tastes better anyway.
Give this one a try this weekend and let me know how your flip went. Did it hold together? Did chocolate go everywhere? Drop a comment below and tell me all about it. I read every single one.