Meta description: These no bake Oreo cheesecake cups have a buttery cookie crust, a creamy filling, and take just 15 minutes of hands-on time. Here’s how to make them.
Why does a dessert that takes 15 minutes taste like it took all afternoon?
I asked myself that the first time I made these Oreo cheesecake cups, and I still don’t have a totally scientific answer. What I do know is that I turned on my oven exactly zero times and somehow ended up with a dessert people asked me to make again.
They’re creamy, they’re chocolatey, and they come with a crunchy cookie base that holds up way better than you’d expect.
And the fact that you only need 7 ingredients doesn’t hurt either.
So if you’ve got a random weeknight craving or a last minute get-together, this is the recipe I’d pull out first.
Side Note: Hands-on time is 15 minutes, but the cups do need at least 2 hours in the fridge to set. Plan for that so you’re not staring at them impatiently (I’ve been there).
Why These Cups Work
Regular cheesecake has a lot of moving parts. There’s a water bath, a slow bake, and a long wait to see if it cracks.
These cups skip all of it.
Instead, the texture comes from two simple things:
- Cream cheese gives you that tangy, classic cheesecake flavor
- Whipped heavy cream folded in keeps everything light and mousse-like instead of dense
The result is somewhere between a cheesecake and a pudding, and honestly, I like it more than the baked version.
Also, there are no eggs in this recipe, so there’s nothing to bake to a safe temperature. It’s just mixing, layering, and chilling.
Fun fact: Oreos have been around since 1912, when Nabisco first sold them. That’s over a century of people twisting them apart, so it makes sense that we’d eventually crush them into a crust.
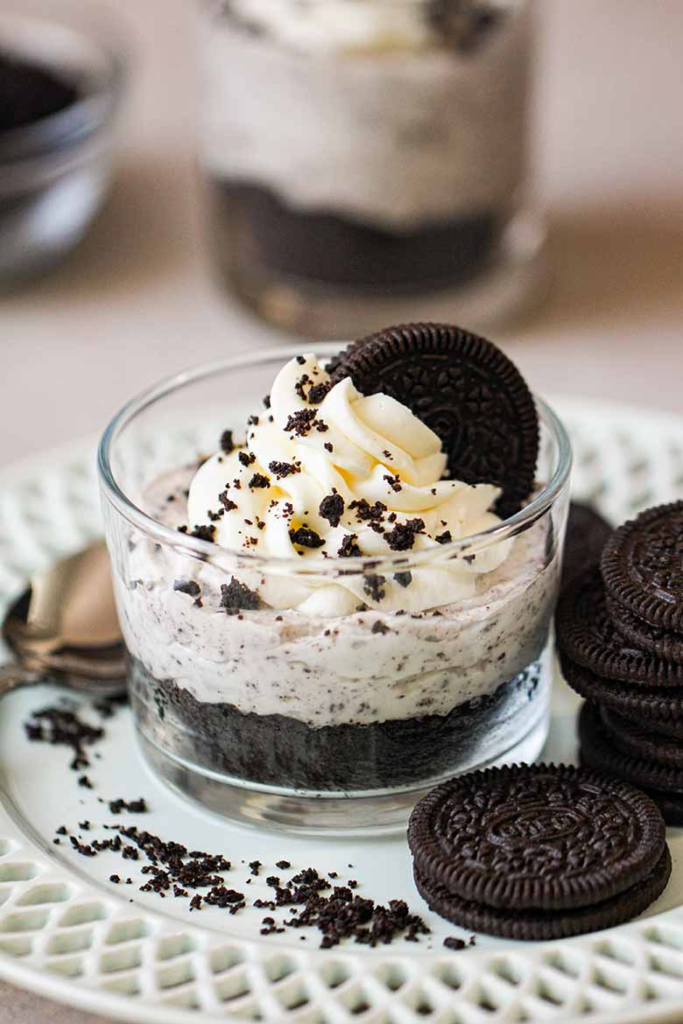
What You’ll Need
Here’s everything for about 6 small cups (roughly 6 to 8 ounce jars or glasses).
| Ingredient | Amount |
|---|---|
| Oreo cookies, crushed (filling included) | 1 cup of crumbs (about 10 to 12 cookies) |
| Unsalted butter, melted | 4 tablespoons |
| Full-fat block cream cheese, softened | 8 ounces |
| Powdered sugar | 1/2 cup |
| Vanilla extract | 1 teaspoon |
| Cold heavy whipping cream | 1 cup |
| Extra crushed Oreos, for topping | About 4 cookies |
| Whole Oreo cookies, for garnish (optional) | 6 |
A quick note on the cream cheese.
Use the brick kind, not the tub. Spreadable cream cheese has more water in it, and your filling will come out looser.
Tools
Nothing fancy here. You probably own everything already:
- 6 small glass jars or dessert cups (6 to 8 ounces each)
- Food processor or a zip-top bag with a rolling pin
- Small microwave-safe bowl
- Large mixing bowl
- Electric hand mixer (or a stand mixer)
- Rubber spatula
- Measuring cups and spoons
- Piping bag with a large tip, or a spoon
- Small spoon or the back of a measuring cup for pressing the crust
Pro Tips
I’ve made these enough times to have opinions. Here’s what actually matters:
- Let the cream cheese soften completely. Cold cream cheese leaves tiny lumps that never fully beat out, and it’s the number one reason people end up with a grainy filling.
- Chill your bowl and beaters for 10 minutes. Cold equipment helps the cream whip up faster and hold its shape.
- Stop whipping at stiff peaks. If you keep going, the cream turns grainy and starts to look like butter. Stiff peaks means the cream stands straight up when you lift the beaters.
- Fold, don’t stir. Stirring pushes out all the air you just whipped in. Gentle folding is what keeps the filling fluffy.
- Press the crust firmly. A loose crust crumbles when you dig in with a spoon, and a packed one holds together like a proper cheesecake base.
How to Make Oreo Cheesecake Cups
Step 1: Make the Crust
Crush your Oreos into fine crumbs. A food processor takes about 30 seconds, or you can put them in a zip-top bag and go at them with a rolling pin (very therapeutic, by the way).
Melt the butter in the microwave in 15 second bursts, then stir it into the crumbs until they look like wet sand.
Divide the mixture between your cups and press it down firmly with a spoon.
Step 2: Beat the Cream Cheese
In a large bowl, beat the softened cream cheese for about 1 minute until it’s completely smooth.
Add the powdered sugar and vanilla, then beat again until creamy. Scrape down the sides once so nothing hides at the bottom.
Step 3: Whip the Cream
In a separate cold bowl, whip the heavy cream on medium-high speed until stiff peaks form. This takes around 2 to 3 minutes with a hand mixer.
Watch it closely near the end. It goes from perfect to overdone fast.
Step 4: Fold Everything Together
Add about a third of the whipped cream to the cream cheese mixture and stir it in to loosen things up.
Then gently fold in the rest with a spatula, scooping from the bottom and turning it over until you don’t see any white streaks.
Step 5: Fill the Cups
Spoon or pipe the filling over the crust, dividing it evenly. Piping looks prettier, but a spoon tastes exactly the same.
Smooth the tops with the back of a spoon.
Step 6: Top and Chill
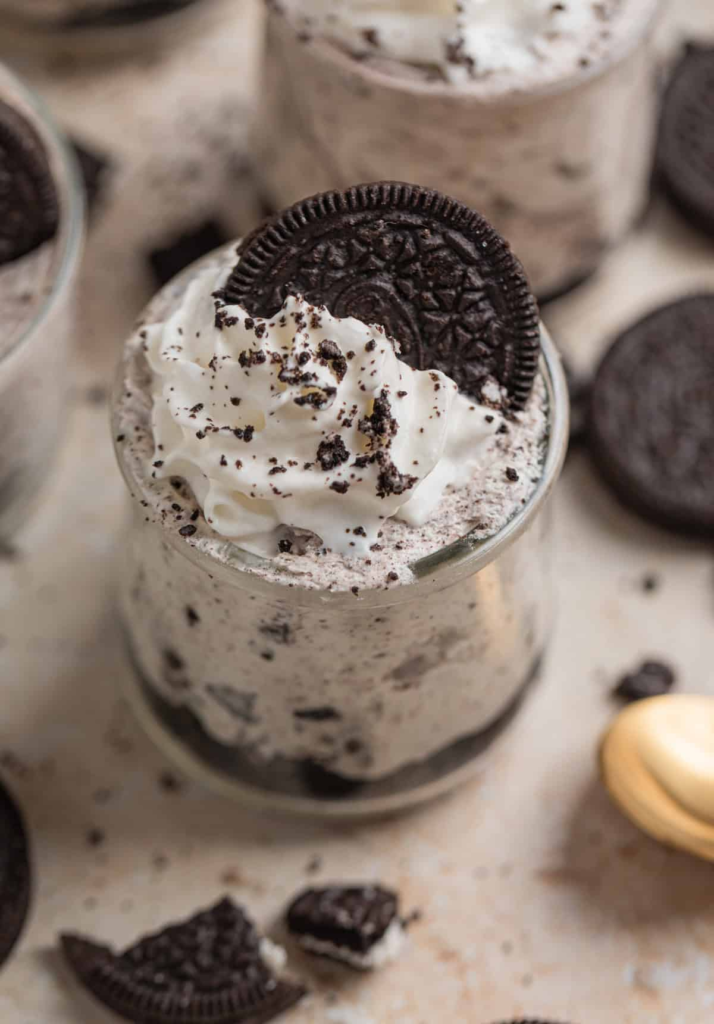
Sprinkle the extra crushed Oreos over each cup and press a whole cookie on top if you’re feeling fancy.
Refrigerate for at least 2 hours. Overnight is even better because the crust softens just slightly and the whole thing tastes more like real cheesecake.
Substitutions and Variations
Once you’ve got the base down, it’s easy to play around.
Simple Swaps
| If you don’t have | Try this |
|---|---|
| Heavy whipping cream | 8 ounces of whipped topping (thawed), folded in the same way |
| Powdered sugar | Blend regular granulated sugar until it’s fine (it may be slightly less smooth) |
| Unsalted butter | Salted butter, and skip any extra salt |
| Regular Oreos | Golden Oreos, Mint Oreos, or any sandwich cookie |
| Cream cheese | Mascarpone for a softer, milder filling |
Fun Variations
- Cookies and cream chunks: Fold 1/2 cup of coarsely chopped Oreos into the filling. It gives you those little cookie bits in every bite.
- Peanut butter: Beat 1/4 cup of creamy peanut butter into the cream cheese.
- Mint chocolate: Use mint Oreos and add 1/4 teaspoon of peppermint extract.
- Mini version: Use shot glasses or mini dessert cups for party-sized bites.
- Gluten-free: Use gluten-free sandwich cookies. The recipe works the same way.
Make Ahead Tips
These are honestly one of the best desserts to make in advance.
- Make them up to 2 days ahead and keep them covered in the fridge.
- Add the whole Oreo garnish right before serving so it stays crisp.
- Prep the crust in the cups the day before if you want to break the work into two parts.
Nutrition Breakdown
Here’s a rough estimate per cup, based on 6 servings:
| Nutrient | Approximate Amount |
|---|---|
| Calories | 480 |
| Fat | 40 g |
| Carbohydrates | 35 g |
| Sugar | 21 g |
| Protein | 5 g |
Please note: These numbers are estimates and will change depending on the brands you use and how much topping you add. If you’re tracking closely, run your exact ingredients through a nutrition calculator.
What to Serve With Them
These cups are rich, so I like pairing them with something simple:
- Fresh strawberries or raspberries to cut through the richness
- A hot cup of coffee (this is my favorite way to finish a meal)
- Cold milk for the full nostalgic experience
- A small scoop of vanilla ice cream if you want to go all in
Time-Saving Tips
Since this recipe is already fast, here’s how to make it even faster:
- Use a food processor for the crumbs instead of crushing by hand
- Soften the cream cheese quickly by cutting it into cubes and letting it sit on the counter for 20 minutes
- Whip the cream first, then use the same beaters (no washing needed) to beat the cream cheese in a separate bowl, keeping the whipped cream in the fridge while you work
- Use a zip-top bag as a piping bag by cutting off one corner
Leftovers and Storage
- In the fridge: Cover and store for up to 3 days. The cookie crust gets softer over time, which some people actually prefer.
- In the freezer: Freeze covered for up to 1 month, then thaw in the fridge for a few hours. The texture is a bit denser after freezing, but it still tastes great.
- Serving from the fridge: Take them out for about 10 minutes before eating. It makes the filling creamier.
Since there’s dairy in these, don’t leave them sitting out for more than 2 hours.
FAQ
Can I make these without heavy cream?
Yes. Thawed whipped topping works as a shortcut and gives you a slightly lighter, sweeter result. The texture is a little less rich, but it still sets nicely.
Why is my filling runny?
Usually it’s one of three things: the cream cheese was a spreadable tub kind, the cream wasn’t whipped to stiff peaks, or the cups didn’t chill long enough. Give them more time in the fridge first, since that fixes it most of the time.
Do I need to remove the Oreo filling?
Nope. Crush the whole cookie. The cream filling helps the crust stick together.
Can I use a different size cup?
Definitely. A larger cup makes fewer, bigger servings, and small shot glasses make around 12 to 16 mini ones. Just keep the crust layer thin and even.
How do I get clean layers?
Pipe the filling instead of spooning it in, and wipe the inside rim of the cup with a paper towel before adding toppings.
Can I make one big cheesecake instead?
You can. Press the crust into a 9 inch pan lined with parchment, add the filling, and chill for at least 4 hours before slicing. You may want to double the crust for a thicker base.
Are they safe to make ahead for a party?
Yes, as long as they stay refrigerated until you’re ready to serve.
Wrapping Up
These Oreo cheesecake cups are proof that a great dessert doesn’t need an oven, a fancy pan, or a whole afternoon.
You get a buttery cookie base, a fluffy cream cheese filling, and a little crunch on top. Honestly, it’s hard to beat for 15 minutes of work.
If you make them, I’d love to hear how they turned out! Leave a comment below and tell me which variation you tried, or ask me anything if you get stuck. I read every one.