I was fully convinced protein ice cream was a scam.
Every version I’d tried before owning a Creami came out either icy, grainy, or tasting like a protein shake that got left in the freezer by accident. Not exactly appetizing.
Then I actually learned how to use my Ninja Creamy correctly, and it changed everything. We’re talking real, scoopable, creamy ice cream that happens to have more protein than a chicken breast.
Side Note: The machine isn’t magic on its own. The base recipe matters just as much as the “Re-spin” button.
I went through three failed pints before I figured that out. One came out like frozen chalk. One never fully processed and stayed a weird slush. One tasted fine but had the texture of wet sand.
So here’s the exact recipe I make on repeat now, plus every mistake I made getting here so you don’t have to.
This isn’t a “trust me, it’s basically the same as real ice cream” situation either. It genuinely is the same as real ice cream, just with a nutrition label that doesn’t make you wince.
Why This Recipe Works
The Ninja Creami works by freezing your base completely solid, then shaving it into a fine powder before churning it back into ice cream texture.
That means your base needs fat and protein to keep it from turning into an ice block with no give. This recipe uses a mix of milk, Greek yogurt, and protein powder to hit that texture just right.
It’s not a “diet food” that happens to taste okay. It’s ice cream that happens to be good for you.
What You’ll Need
| Ingredient | Amount |
|---|---|
| Unsweetened almond milk (or regular milk) | 1 cup |
| Plain Greek yogurt | 1/2 cup |
| Vanilla protein powder (whey or casein) | 1 scoop (about 30g) |
| Fat-free sweetened condensed milk | 2 tablespoons |
| Xanthan gum | 1/4 teaspoon |
| Vanilla extract | 1 teaspoon |
| Pinch of salt | 1 pinch |
That’s it. Seven ingredients, most of which you probably already have.
Side Note: Casein protein powder gives a slightly creamier, denser result than whey. Whey works great too, just expect a lighter texture.
Tools You’ll Need
- Ninja Creami (any model)
- Ninja Creami pint container with lid
- Blender or immersion blender
- Measuring cups and spoons
How to Make Ninja Creami Protein Ice Cream
- Blend the base. Add the almond milk, Greek yogurt, protein powder, condensed milk, xanthan gum, vanilla, and salt to a blender. Blend until completely smooth, about 30 seconds.
- Pour into the pint. Pour the mixture into your Creami pint container. Don’t fill it past the fill line, the base needs room to expand.
- Freeze for 24 hours. Lay the pint flat in the freezer (not tilted) and let it freeze fully for at least 24 hours. This step cannot be rushed.
- Process. Remove the lid, lock the pint into the Creami machine, and run it on the Lite Ice Cream setting.
- Check the texture. It’ll look crumbly and powdery right after processing. That’s normal, not a mistake.
- Re-spin if needed. If it still looks dry or grainy, add a tablespoon of milk and hit Re-spin once. This almost always fixes it.
- Scoop and serve. Let it sit for 2 to 3 minutes before scooping for the best texture.
Pro Tips From My Kitchen
- Weigh your protein powder if you can. Scoops vary wildly between brands, and too much powder makes the ice cream chalky instead of creamy.
- Never skip the fat. Full fat-free bases freeze rock solid and process terribly. The Greek yogurt and condensed milk aren’t optional extras, they’re doing real work here.
- Freeze it flat, not upright. An upright pint freezes unevenly and jams the blade.
- Add mix-ins after processing, not before. Peanut butter chips, crushed cookies, whatever you’re into, fold them in once it’s already spun. Mix-ins frozen into the base can damage the paddle.
- Don’t over-Re-spin. One re-spin fixes most texture issues. Three or four just melts everything into soup.
Substitutions and Variations
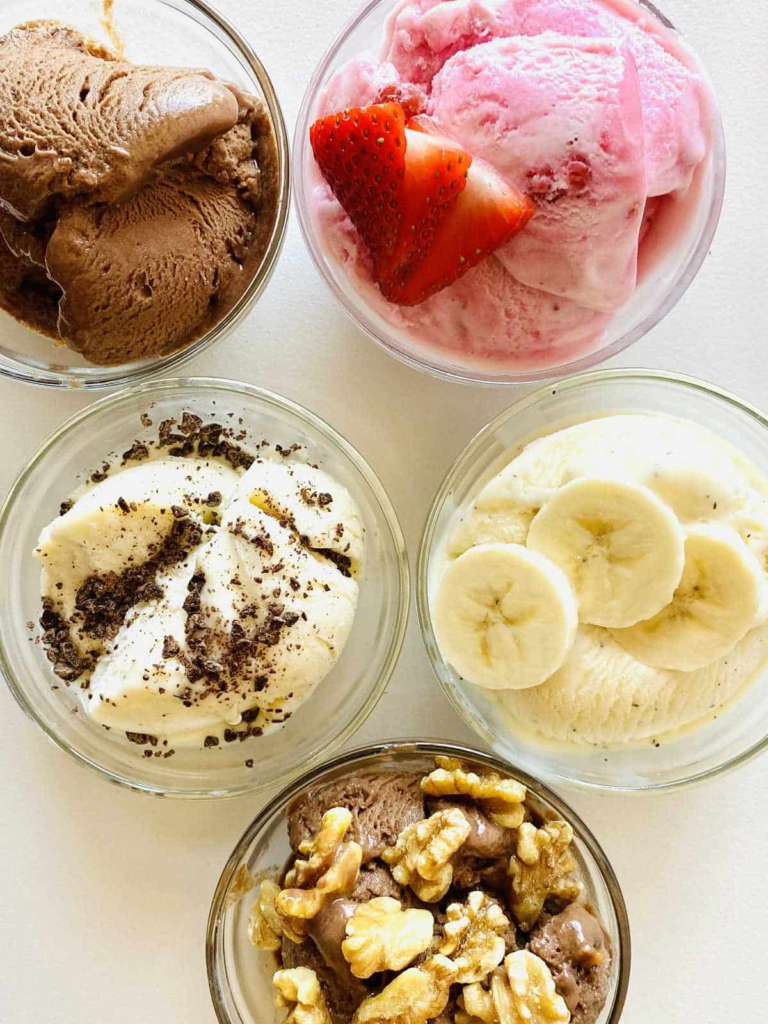
- Chocolate version: Swap vanilla protein powder for chocolate and add 1 tablespoon of cocoa powder.
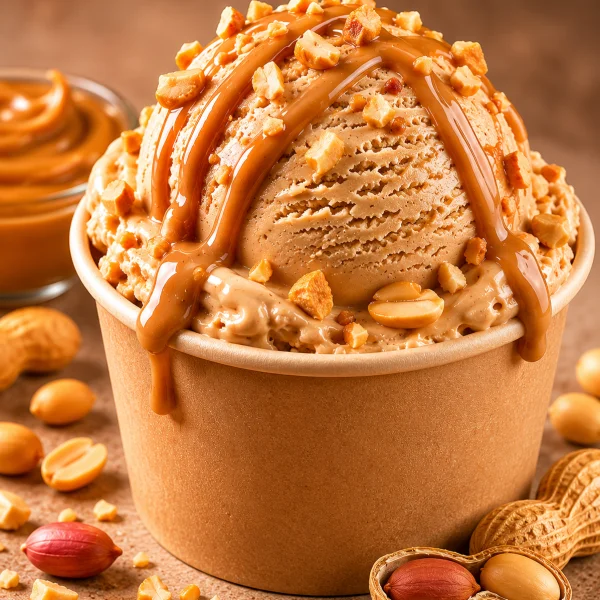
- Peanut butter version: Add 2 tablespoons of powdered peanut butter to the base before freezing.
- Dairy-free: Use a dairy-free yogurt and a plant-based protein powder. Texture will be slightly less creamy but still solid.
- Higher protein: Swap the condensed milk for an extra half-scoop of protein powder, though texture gets a bit denser.
- Fruit versions: Blend in 1/4 cup of frozen strawberries or bananas before freezing for a fruity twist.
- Cookies and cream: Fold in crushed sandwich cookies after processing, not before, so they stay crunchy instead of turning to mush.
- Low carb: Swap the condensed milk for a sugar-free caramel syrup and use unsweetened cashew milk instead of almond milk.
Make Ahead Tips
This recipe is basically built to be made ahead since it needs a full 24-hour freeze anyway.
You can prep the base up to 3 days in advance and store it in the fridge before pouring it into the pint and freezing.
Once processed, it keeps well in the freezer for up to 2 weeks, though texture is always best within the first few days.
Nutritional Breakdown (Estimated)
| Nutrient | Per Serving (1/2 pint) |
|---|---|
| Calories | ~180 |
| Protein | ~32g |
| Carbs | ~14g |
| Fat | ~2g |
| Sugar | ~8g |
Side Note: These numbers are estimates and will shift depending on the exact protein powder and milk you use. Always double check against your specific ingredient labels if you’re tracking macros closely.
For keto: Swap the condensed milk for a sugar-free version and use unsweetened almond milk to cut carbs significantly.
For higher calorie needs: Use whole milk instead of almond milk and add an extra tablespoon of condensed milk.
Meal Pairing Suggestions
This works great as a post-workout treat on its own, but it also pairs surprisingly well with:
- Fresh berries on top for a lighter dessert
- A drizzle of sugar-free chocolate syrup
- Crushed graham crackers for a cheesecake-style vibe
Time-Saving Tips
The 24-hour freeze is the only real time commitment here, and it happens without you doing anything.
- Batch your bases. Blend 3 or 4 pints worth of base on a Sunday and freeze them all at once. You’ll have a week of ready-to-process ice cream on hand.
- Keep protein powder pre-measured. Portion out scoops into small containers ahead of time so blending takes under 2 minutes.
- Label your pints. If you’re making multiple flavors, a piece of tape and a sharpie saves you from guessing which pint is which at 9pm.
- Process the night before you need it. A freshly spun pint tastes best within the first hour, so time your Re-spin close to when you’re actually serving it.
Leftovers and Storage
Store the pint directly in the freezer with the lid on. It’ll stay good for up to 2 weeks.
Reheating isn’t really a thing here, but if it’s frozen too hard to scoop, run it through the Creami on the Re-spin setting for about 10 seconds before serving again.
Avoid letting it fully melt and refreeze, since that changes the texture permanently and it won’t re-spin back to smooth.
FAQ
Can I use whey protein instead of casein?
Yes. Whey works fine, though the texture will be slightly lighter and less dense than casein.
Why did my ice cream come out icy instead of creamy?
This almost always means the base didn’t have enough fat or protein. Double check you’re not skipping the yogurt or condensed milk.
Do I have to freeze it for the full 24 hours?
Yes. Freezing it for less time means it won’t be solid enough to process correctly, and you’ll end up with soup instead of ice cream.
Can I double this recipe?
You’ll need a second pint container since the Creami only processes one pint at a time, but yes, the recipe doubles easily.
Is this actually low sugar?
Compared to regular ice cream, yes. A typical serving of regular ice cream has 3 to 4 times the sugar found here.
What happens if I don’t add xanthan gum?
It’ll still work, but the texture will be noticeably icier since xanthan gum is what helps trap air and keep things smooth. If you don’t have it, a tablespoon of cream cheese can help in a pinch.
Can I make this without a Creami machine?
Not really, at least not with this exact texture. Regular ice cream makers use a different churning process, and this recipe is specifically built around how the Creami shaves and re-spins frozen bases.
Wrapping Up
Once you get the base ratio right, this recipe basically runs itself.
It’s one of those things that feels like it shouldn’t work, high protein, low sugar, and somehow still tastes like real ice cream, but it does.
Make it once and you’ll understand why Creami owners talk about this machine like it changed their lives.
If you try this recipe, leave a comment below and let me know which flavor variation you went with. And if you run into any texture issues, ask away, I’ve probably already made that exact mistake myself.